Rustic Wood Slice Ornaments with April Wilson for #LoveYourLifeFriday
Today, April Wilson is showing us how to make these quick and easy rustic wood slice ornaments perfect for your tree or even to use as gift toppers!
*******************************************************************************
I love making ornaments and other Christmas decorations for our home, but as the holidays approach, it seems like time is a precious commodity and there are never enough hours in the day. I have been thinking about decorating our house in a few weeks I wanted to add a little something extra to our tree, so I whipped up these cute ornaments in less than an hour!
Here’s what you need:
- Wood slices (I purchased mine from a local craft store)
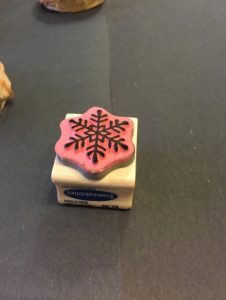
- Stamp – I chose a snowflake, but you could do an initial or anything that fits with your theme
- Black ink stamp pad – I originally wanted to try gold, but it did not show up well on the wood slice
- Small screw eyes
- Jute twine (or thin ribbon)
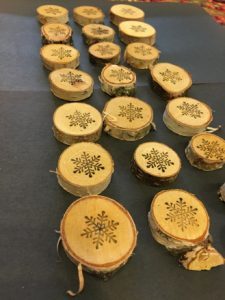
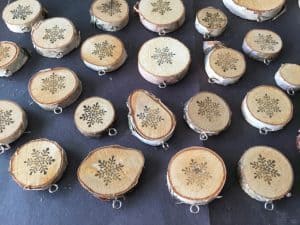
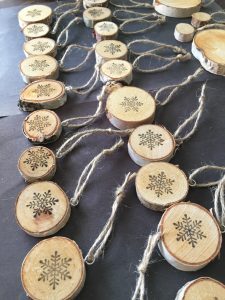
I started with the wood slices that I purchased at Hobby Lobby. The week I went they were 50% off – bonus! I bought medium size, so the wood slices range from about 3/4″ to 2″ in diameter, but the majority of them are about 1.5″.
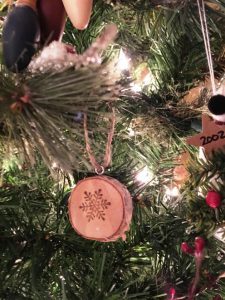
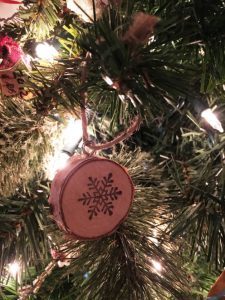
This year I am decorating our tree exclusively with ornaments that are handmade by my aunt. Every year she makes each of her nieces and nephews and their children an ornament, so I have an awesome assortment of beautiful handmade ornaments! Most of these have a snowman theme, which is why I chose the snowflake stamp for my wood slices.
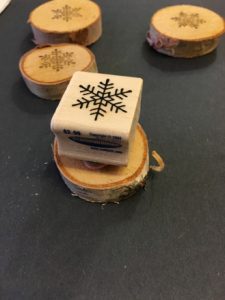
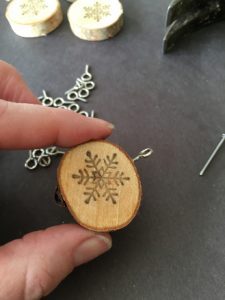
I laid out all of my wood slices, stamped one side, flipped them, and stamped the other side. I really like stamping these because it gives them the look of wood-burning without all of the effort!
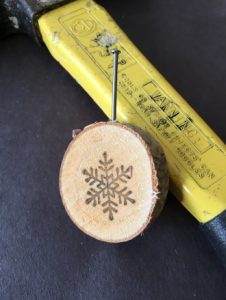
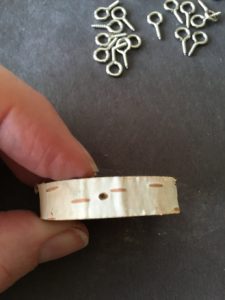
Next you want to attach the screw eyes. To do this I made a starter hole in the top of each wood slice with a hammer and small finish nail. I pounded it in just far enough to have a small hole to start the screw. It was easy to screw in by hand after that.
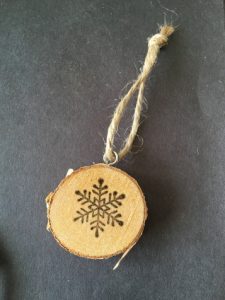
Once you have all of the screw eyes attached you just need to add your jute twine or ribbon as a hanger and you are ready to decorate!
This project took less than an hour from start to finish and I’m really happy with the end result.
These would also make great gift toppers when wrapping presents or something that the kids could make as a gift for grandma. The possibilities are endless!
********************************************************************************
NOTE FROM KAREN: My home is filled with “April Wilson originals”. She is the crafty woman I wish I could be. :-) Here is a link to some of her homemade items you will LOVE! CLICK HERE FOR APRIL’S SHOP!





This is a really great idea.
That’s really cute! What else can they be used for?