Perfectly Painted Wood Signs for #LoveYourLifeFriday with Amanda Wells
Have you seen those cute rustic, hand painted signs? I love them but I do NOT love the price, so today I’m sharing how you can make these inexpensive custom signs at home. A few years ago I took a painting class and learned an amazing secret, the trick of the trade, to painting such perfect, even lines on wood or canvas.
Carbon paper.
Say what? Yes, my friend, that two-sheet messy carbon paper will be your best friend from now on while you get your rustic chic on. They’re reusable (for this project) so you’ll only need a sheet or two depending on your project. You’ll also need an old piece of wood, a scrap of sandpaper, fabric paint or chalk paint, a foam paintbrush and a paint pen.
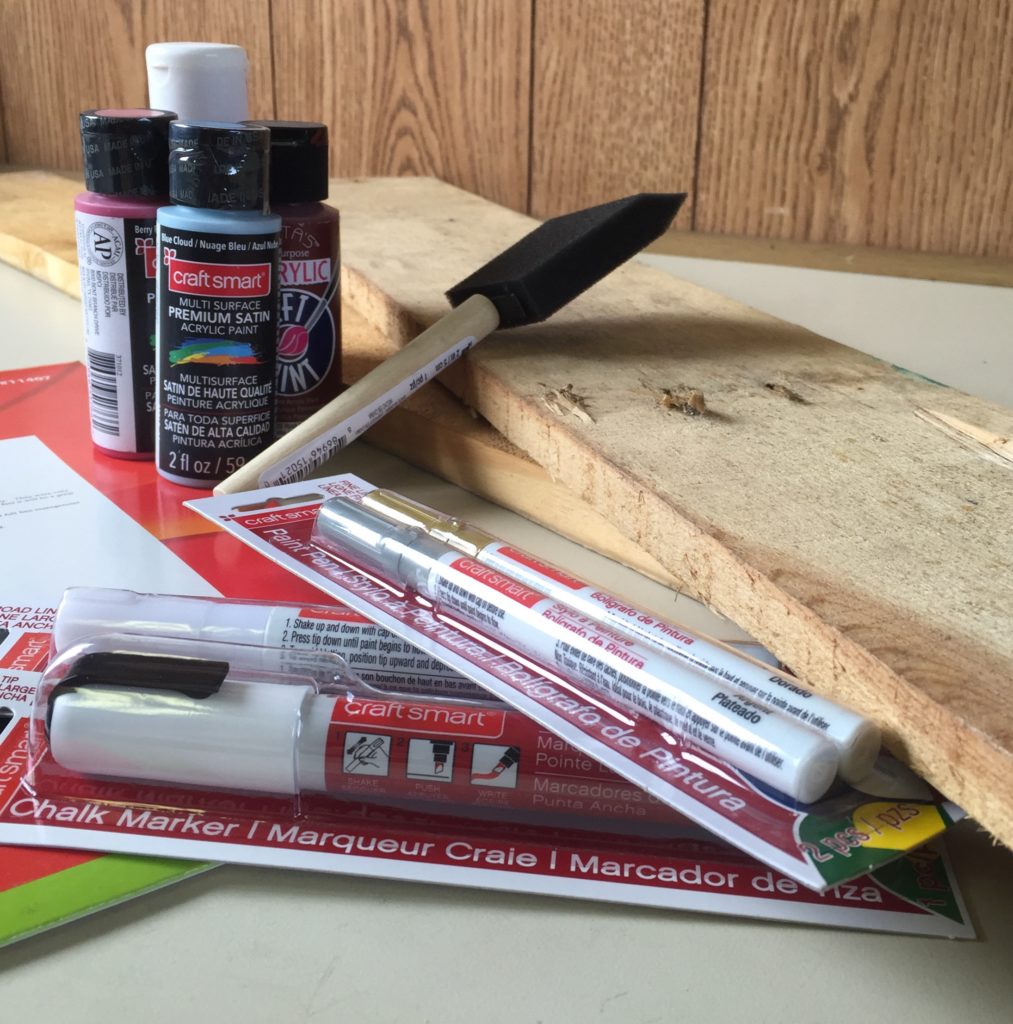
Home Depot has a trash bin for scrap wood so check there first for a FREE piece of solid wood about 1”x 24” x4”. You can use any size you want but that’s just a general guideline. You’ll also need a piece of sandpaper. Check your local craft store for a small bottle of paint or chalk paint for the base color on your wood. Then choose a paint pen or a chalk pen to write on your board with.
First, sand your board all over, paying close attention to the edges and top so you don’t get a splinter from rough edges. Trust me, I’ve rubbed my hand across a rough board and picked up many a splinter. You’ll want to skip that part so sand, sand, sand. I just grab a piece of sand paper and rub it across the board and along the edges until smooth.
Then, using your foam paintbrush, paint your base color across the face of your board and along the sides. 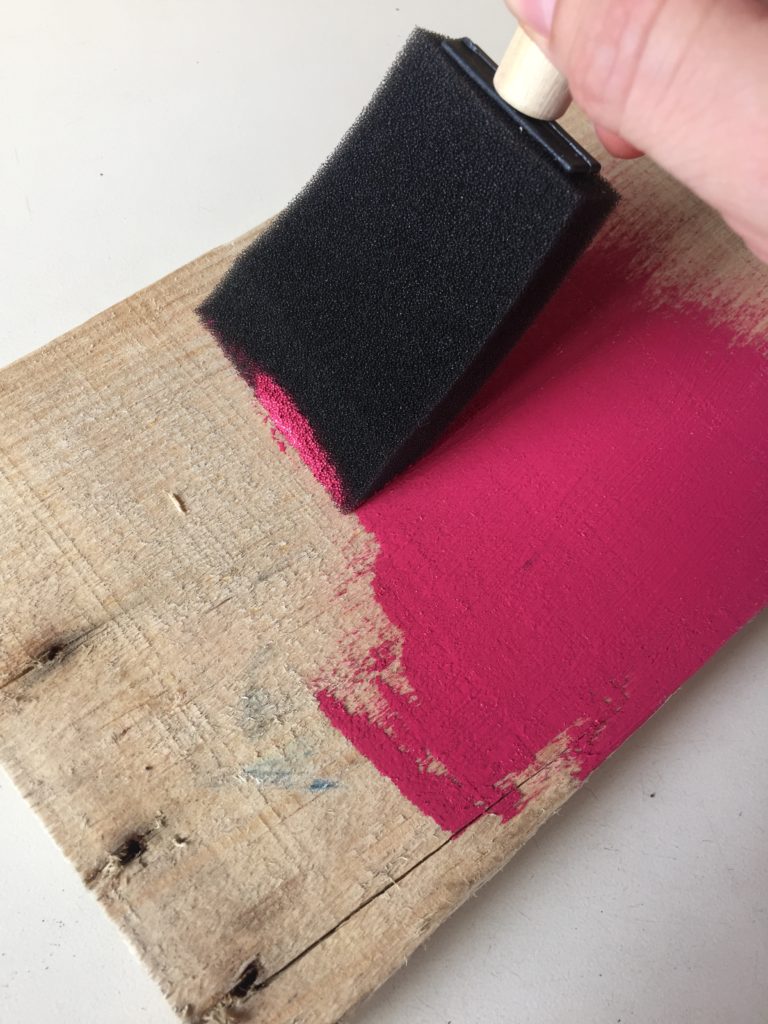
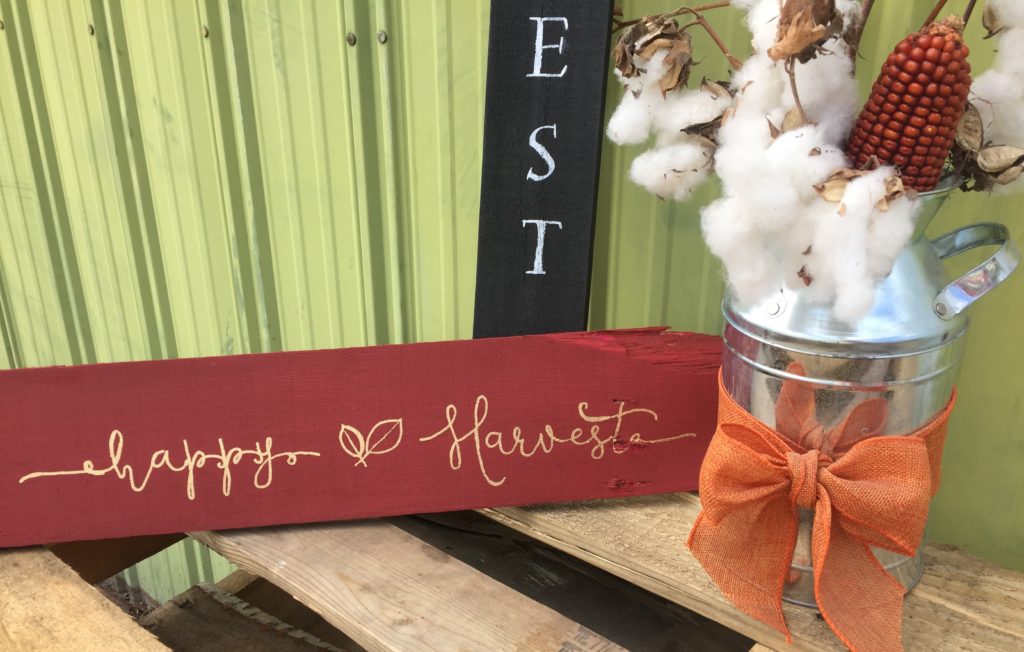
While it’s drying, print your design or word on a regular sheet of copy paper. I’m not great at hand-lettering so I found a cute fall font on Pinterest and printed it. Once your board is dry, you can lightly sand across the top and edges for that rustic look or you can leave it the way it is.
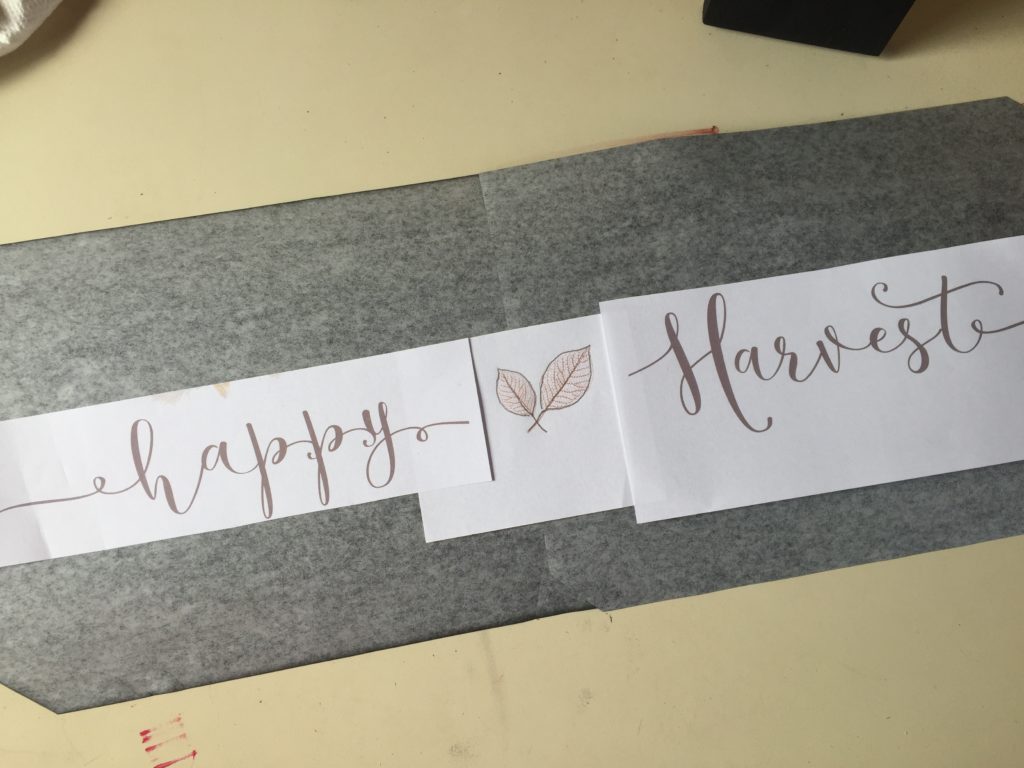
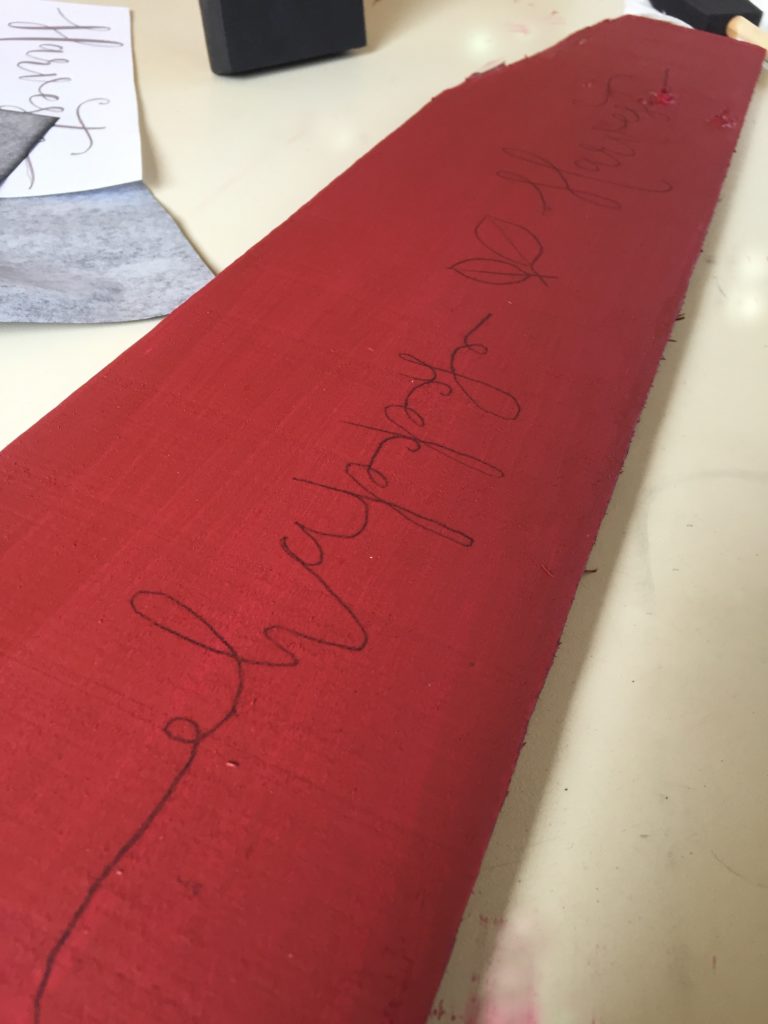
Next, carefully lay your carbon paper on top of the wood with your printed paper on top of the carbon. Lightly trace your design, avoiding intricate detail (like the veins on my leaf). Carefully lift the papers off your board and you should just be left with the carbon imprint of your design. Blow off any excess carbon to remove unwanted black dust from your project.
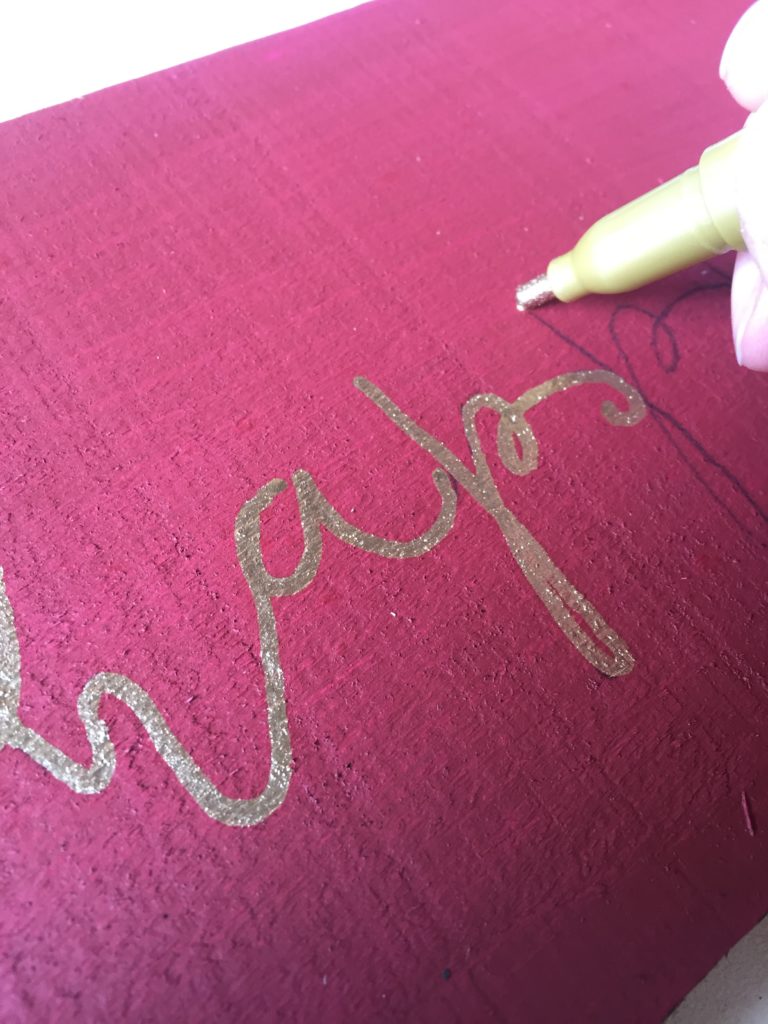
Shake your paint pen well before tracing your image and practice on a piece of paper first to make sure there aren’t any blobs. Slowly trace your design and fill in any necessary areas.
Voila! You’re finished.
Now that you know the how-to, you’ll be making your own rustic signs in no time! They make great Christmas gifts and they’re budget-friendly. Win-win! Be creative and try the carbon paper trick on cardboard, a picture frame, or on a canvas. The possibilities are endless. Go and paint!
Thank you for having me at #LoveYourLifeFriday!
Blessings, Amanda
 Amanda Wells is the proud wife of a smokin’ hot third-generation farmer, and they have taken Psalm 127:5 literally, raising their quiverful of six kids on the farm. She loves baking, reading, writing, and arithmetic (kidding!). Amanda writes about faith, homeschooling on the farm, and family life at farmwyfe.com.
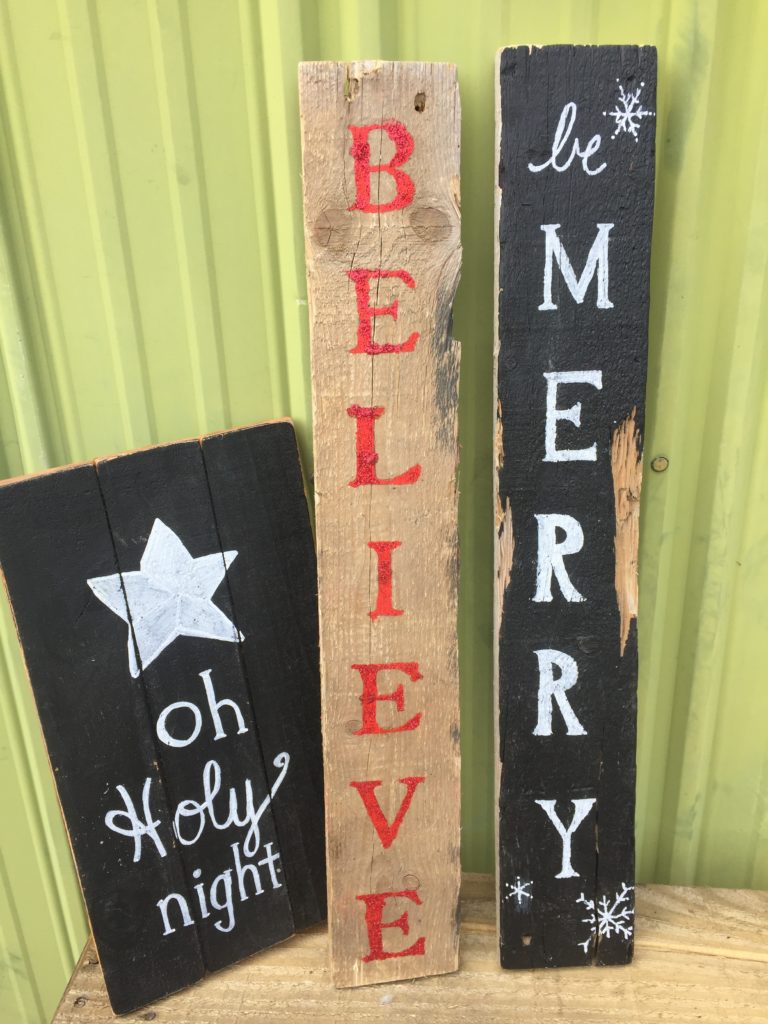
Bonus ideas for the Christmas season…


Thank you for sharing this. I too love those cute happy go lucky signs. I can’t wait to start my 1st one!
Thank you for sharing the how to for this lovely project.. One could build a home /internet business on this simple and inspirational guide.
Great stuff ..I can use this at our local Tehachapi learning Center, where we do arts and crafts,funded through the county. .for people with mental illness and seeking recovery. ..Carmen a peer Support Specialist