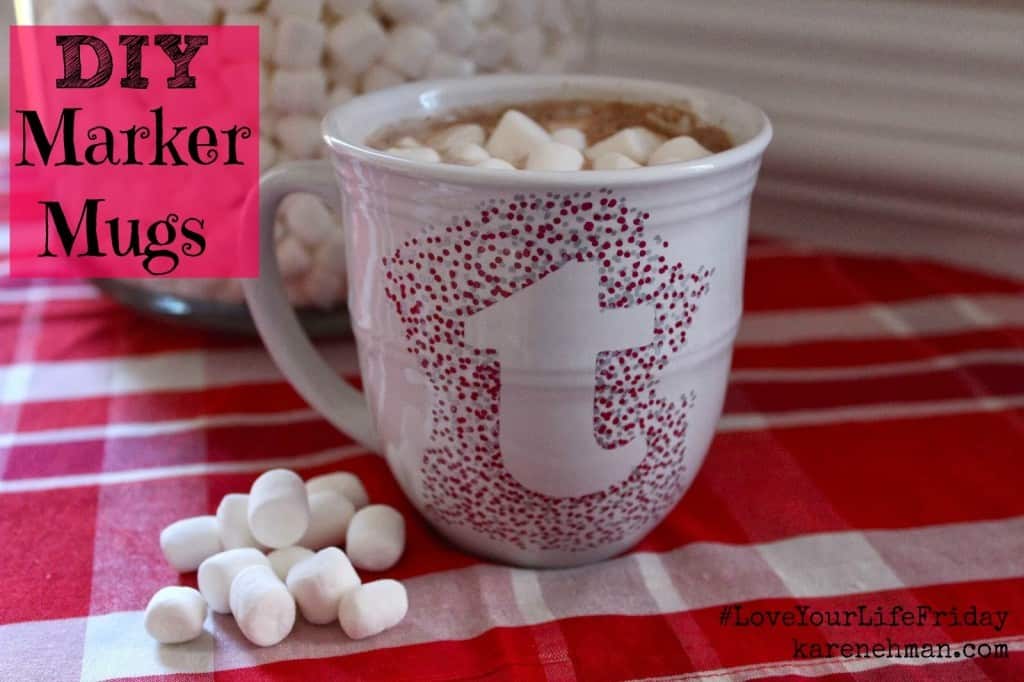
Baby, It’s cold outside! Here’s a clever craft to do on a blustery day.
I got the girls together, along with a couple of their friends
and we crafted up some new personalized mugs!
We used the following supplies; Oil-based Sharpie’s (I got mine at Hobby Lobby).
It’s very important that you use oil-based paint markers (like these Sharpie’s)
otherwise it may come off when you run it through the dishwasher.
White ceramic mugs. I found these at Wal-Mart.
Use of an oven in a well ventilated space.
I cut jumbo plump letters with my Silhouette. But you can use a scrapbooking sticker too.
Apply the sticker to the center of the mug, burnishing the edges. I made sure that I placed the letter so that it would be facing out when I was drinking. You may not prefer to do it this way though.
I started with the silver pen and placed dots all around (and a little over) my letter.
Making sure not to go too fast, or you will end up with little lines and not dots!
After I added the right amount of silver. I added red. And then added a little more silver and then a little more red. Until I was happy with the shape and the amount of dots.
How cute is that! I think it may even make the hot chocolate taste better!
We used a different color combination for each person in our family.
Before you go ahead and boil your water for your own hot chocolate,
you’ll want to bake the mugs in an oven for 30 minutes at 350 degrees.
This will help the paint to “bake” onto the mug and resist wearing in the dishwasher.
I left them in the warm oven (turned off) for a couple of hours as well.
These would make great Christmas gifts, party favors, or a craft for a birthday party!
Enjoy and stay warm!
 Chessa Moore is the wife of Ben and the mother to teens and near-teens: Sidney, Tyler and Katelyn. She’s the kind of girl who can’t sit still and always has to be creating something. If she sees something she likes, she sets out to determine a way to create it herself! Occasionally, this means she gets her handy-husband and creative-kiddo’s involved in the project(voluntarily or otherwise)!


Do you bake the cups after the dots are on and the paper letter pulled off? I think I missed something in the instructions